|
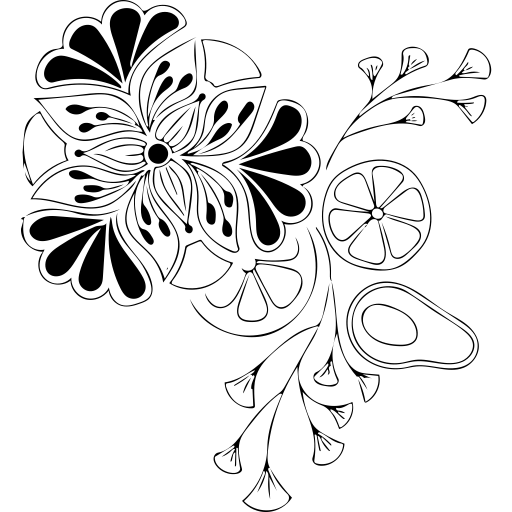
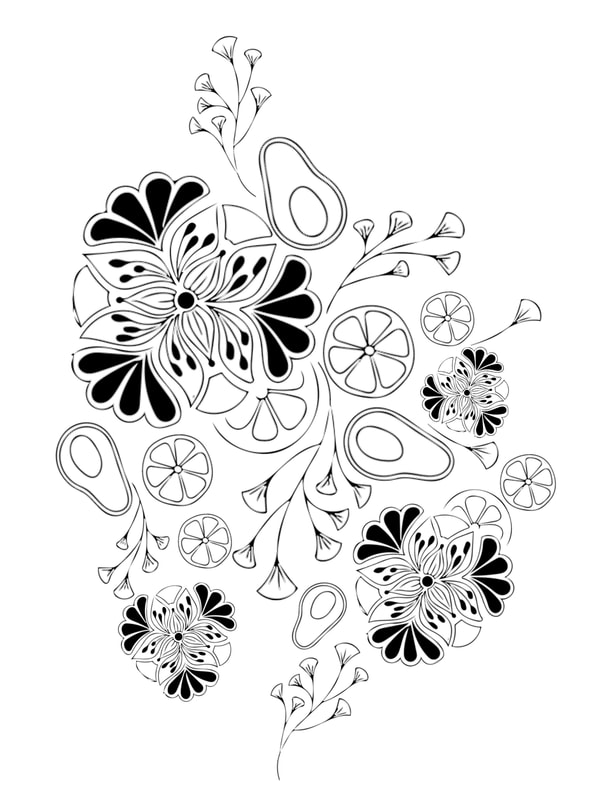
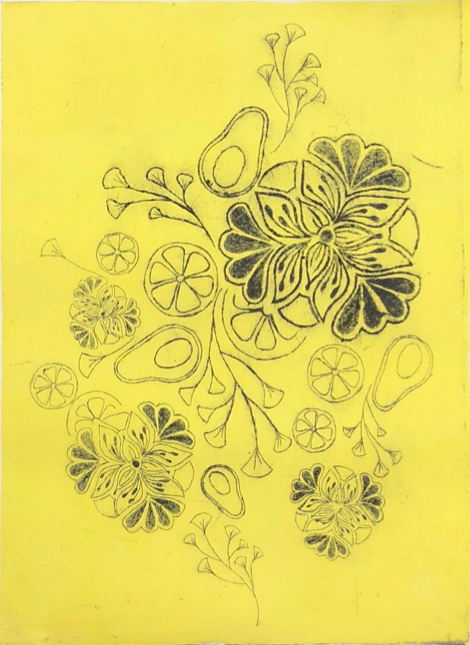
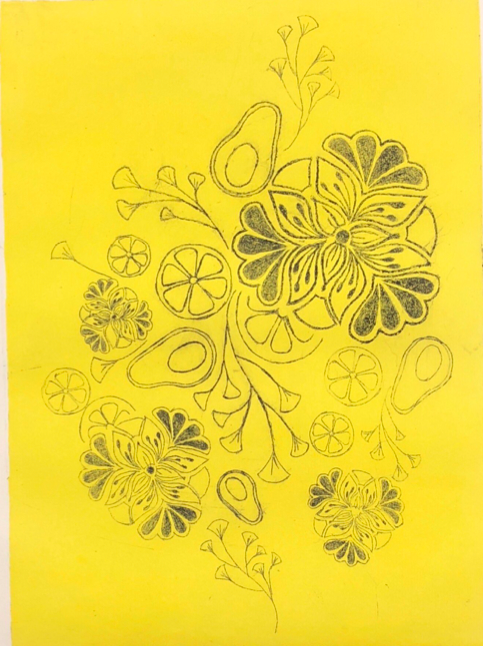
The first picture is the design that I created on the sketchbook and then I took picture of it. Then I put it on the Photoshop and reorganized it but with the pattern I drew on the paper. The second picture is what I have after I reorganized it. To start etching on the plate, we print out the pattern and tap under the plate. As we start etching, it’s hard at first, I get faster and faster. Some detail part of the design is hard to etch; however, as I practiced more and more, I get better. The third picture is when I finished etching the design.
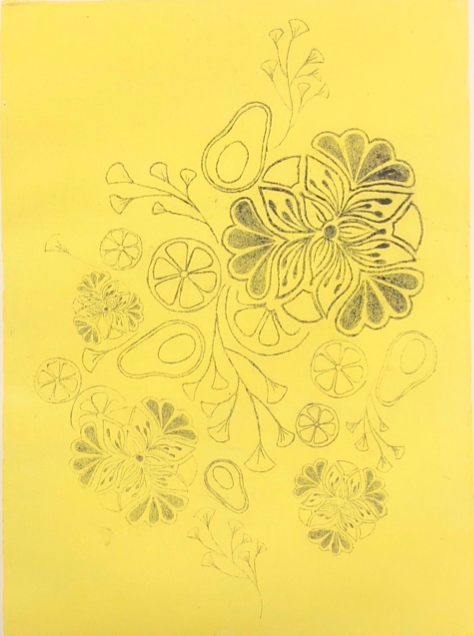
The next step will be the Dry Point Printmaking. After I cut the design, I need another plate to be the same size of the design to be the background. I picked the color yellow to be my background. We used barer to spread the color out. Then put the color on the bland sheet of plate. The black will be on the design piece. I totally have five papers to print. The first one is mashed and I learned that I needed to clean the plate well. The second on is very light so I put more color on the third one. I get improved gradually and finally I get a perfect print on the last one. This project not only taught me not how to do Dry Point Printmaking, but also taught me how to use Photoshop to duplicate the pattern.
0 Comments
|
AuthorWrite something about yourself. No need to be fancy, just an overview. Archives
May 2018
Categories |
 RSS Feed
